This easy homemade paneer recipe creates the softest, most tender paneer cheese from scratch – with no preservatives or special additives needed. It can be used for almost all types of curries, deep-fried snacks, and even for most milk desserts and Indian sweets.
food acids to curdle milk
- Lemon juice or lime juice: For a liter of milk you could add about 2 to 4 teaspoons of lemon juice depending on the quality of the milk.
- Vinegar: Add about 2 to 3 teaspoons of white vinegar or apple cider vinegar to 1 liter of milk. With vinegar, the milk curdles faster and quicker.
- Curd or yogurt: You could add about 3 to 4 tablespoons of fresh curd or yogurt when making the paneer recipe with 1 liter of milk.
- Buttermilk: Try adding 4 to 5 tablespoons of buttermilk to a liter of milk.
- Citric acid: I do not use citric acid as it creates too firm of a cheese. But you can use it.
INGREDIENTS for homemade paneer
- 1-liter whole milk
- 1-1.5 tablespoons white vinegar or lemon juice
INSTRUCTIONS for homemade paneer
Boiling the Milk
- You want to start with whole milk because the texture of the cheese is creamier.
- First, rinse a large, heavy-duty pot with water and ensure that it is completely clean.
-
Add milk to a heavy bottom pan on medium heat.
- Begin to heat the milk on a medium-low flame.
- Stir often so that it doesn’t stick to the bottom of the pan.
- Let the milk come to a boil until it starts foaming and rising.
- Turn off the heat right when the milk boils.
Adding Food Acid
Add the one food acid of your choice:
- Lemon juice – 2 to 4 teaspoons
- Vinegar – 2 to 3 teaspoons
- Buttermilk – 4 to 5 tablespoons
- Curd – at least 3 to 4 tablespoons
More fat in the milk will require more food acid to make this paneer recipe. For making this I am using vinegar. I suggest you to use vinegar or lemon juice
-
Once the milk has come to a boil, turn off the heat and start adding vinegar (or lemon juice), a little at a time.
- The milk will begin to curdle immediately.
- The liquid will turn into a yellow/light-green color, especially if you use vinegar, but that’s completely normal.
- The milk must curdle completely before you can make paneer.
- Continue to stir the milk to help keep it from sticking to the pot.
Making Homemade Paneer
- Now drain off the curdled milk over the cheesecloth.
- Lift the bundle and allow it to drain until no longer dripping.
- With the ends tightly gathered, run clean, fresh water all over the cloth to rinse.
- This really helps to cool the cheese and it helps wash away the lemon juice or vinegar
- Tightly secure the ends of the cloth to keep the chenna wrapped, then place the bundle back in the strainer on a plate or over a clean bowl.
- Press the cheese to release more liquid.
- Then place a heavy object on top for it to set. I placed a plate and then placed a mortar & pestle on top. Leave it undisturbed for 1 to 2 hours.
- You can either hang the bundle (on your kitchen basin faucet) or press it to form the cheese.
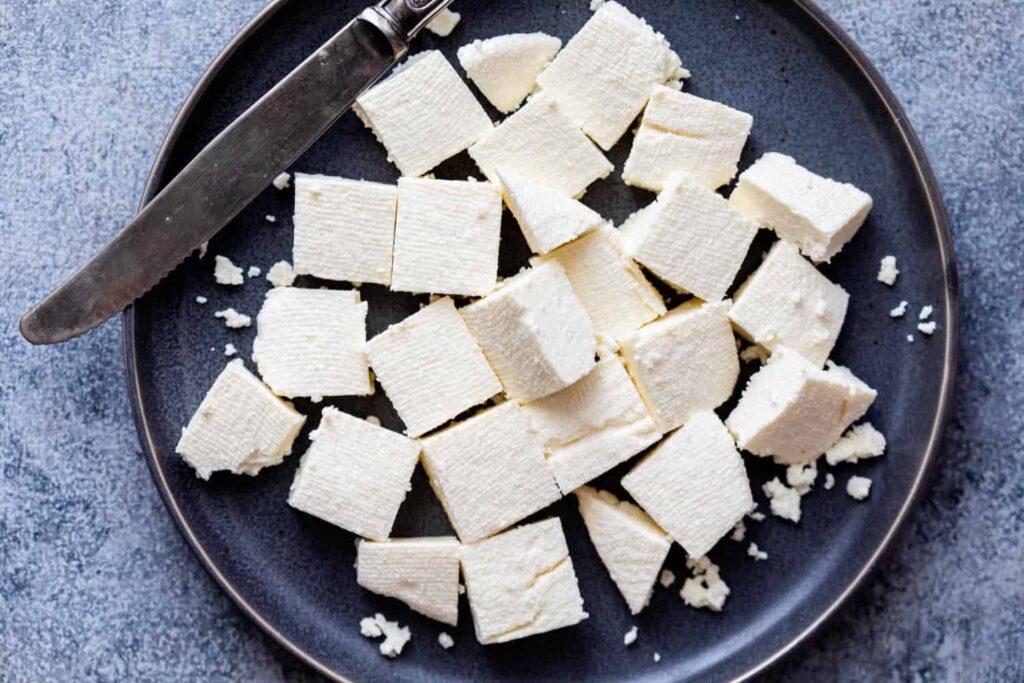
- Remove the weight and open the cloth.
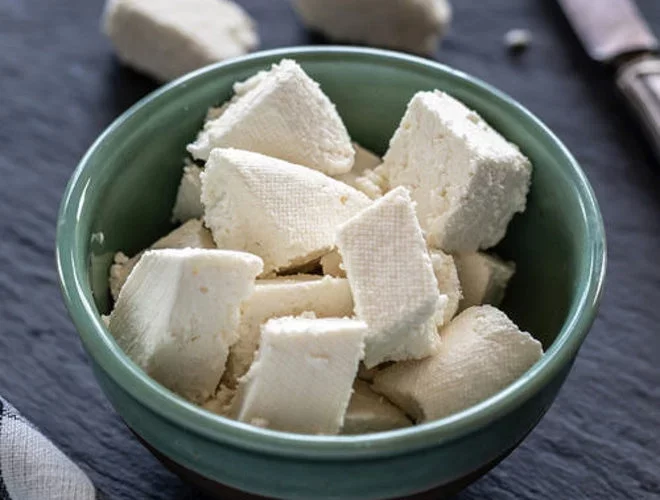
- Cut into cubes. Use paneer in any of your favorite recipes.
Tips and Variations
- For the tastiest paneer, I recommend using full-fat whole milk.
- I prefer using vinegar to curdle the milk as I feel it results in a more solid block of paneer.
- You can use any one of the four ingredients that coagulate the milk as mentioned above, but remember: each of these will add a hint of flavor to the paneer.
- There is no need to remove any cream that you might see floating in the milk as it cooks.
- For creamier paneer, add 1/4 cup heavy cream to the milk while boiling it.
- Overcooking will yield an unpleasantly hard, crumbly cheese.
- If the paneer does become hard you can soak the block in warm water for a minute or two on the countertop.
Storing Paneer
Use the paneer right away to cook, or you can refrigerate it for later. To refrigerate, keep stored in an airtight container for 2 to 3 days.
Using Paneer
The collected whey can be added to roti, rice or vegetable dishes. Keep reading for some great ideas of what to do with the whey!
Try your fresh homemade paneer to make your favorite Indian curries. You could also make Paneer Bhurji, Paneer pasanda, Paneer Roll, Paneer labadar, Paneer Paratha, Khoya paneer, Matar Paneer, Paneer Manchurian, or any number of delicious recipes.
FAQs
1. How is Homemade Paneer Different from Store-Bought Paneer?
Homemade paneer is often considered fresher and creamier than store-bought options. When you make it at home, you have control over the quality of ingredients and the process, resulting in a superior product.
2. Can I Use Low-Fat Milk to Make Paneer?
While you can use low-fat milk to make paneer, it may result in a less creamy and softer texture compared to using whole milk. Whole milk or milk with a higher fat content is preferred for the best results.
3. What is the Shelf Life of Homemade Paneer?
Homemade paneer has a relatively short shelf life compared to store-bought paneer. It is best when consumed within 2-3 days when stored in the refrigerator. To extend its shelf life, you can freeze it for up to a couple of months.
4. Is Homemade Paneer Suitable for Lactose-Intolerant Individuals?
Paneer, whether homemade or store-bought, is a dairy product and contains lactose. Lactose-intolerant individuals may experience discomfort when consuming paneer. There are lactose-free alternatives available, but they are not traditional paneer.
5. Can I Flavor Homemade Paneer?
Yes, you can flavor homemade paneer by adding herbs, spices, or seasonings to the milk before curdling. This allows you to customize the taste of your paneer to suit your preferences and the dish you plan to prepare.
6. What Can I Make with Homemade Paneer?
Homemade paneer is incredibly versatile and can be used in a variety of dishes. Popular choices include paneer tikka, paneer masala, saag paneer, and paneer paratha. It can also be used in salads, sandwiches, and desserts.
7. Can I Use Homemade Paneer in Sweet Dishes?
Absolutely! Homemade paneer is a key ingredient in many Indian sweets, including rasgulla, Sandesh, and rasmalai. Its mild and creamy flavor makes it a perfect addition to dessert recipes.
In Conclusion
Making paneer at home is a straightforward and rewarding process. It ensures that you have control over the quality and freshness of the paneer you use in your dishes. With this comprehensive guide, you can create homemade paneer that surpasses the quality of store-bought options. So, roll up your sleeves, gather your ingredients, and start making delicious paneer to elevate your culinary creations.
Nutrition
| Calories | 605kcal |
| Fat | 32g |
| Sodium | 420mg |
| Protein | 7g |
| Calcium | 240mg |
Also read:
- Paneer do pyaza recipe
- Mushroom Pakoda recipe
- chicken chatpata recipe
- Oreo Mug Cake Recipe
- Paneer Dum Biryani Recipe
- Aloo paneer paratha recipe
follow us on instagram, facebook and youtube